On the surface many solar PV systems look great with the occasional array that look a little funky due to the layout. Sleek blue or black panels with grid lines and squared on the roof is a beautiful thing when done right. Customers ask all the time about the quality of the panels or inverters proposed but too few ask about the roofing process.There are several kinds of roofs that we deal with but I will touch on the most common. The two obvious are composition shingle and tile roofs but we often deal with metal and flat roofs. Each roof has a different method to flash the mounting hardware, if done incorrectly issues may occur such as leaks.
Solar installation is much more invasive than it might look. Roofing knowledge and skills are a vital requirement for the install. Structurally most roof rafters are made from 2″ by 4″ or 2″ by 6″ pieces of wood. The most common method in finding these rafters is to hit the roof with a hammer through the roofing material. Once the rafter is found a pilot hole is drilled and a stainless steal lag should be embedded. First off the lag needs to be stainless steal so there is no risk of it rusting out. The other point to make is that a sealant should be used when embedding the the lag into the roof to ensure water-proofing.
The sealant we use from ChemLink is called M-1, a Polyether adhesive, that bonds to virtually everything and is a pain to get off your hands! Essentially the gold standard when it comes to sealants. We use this product on every job to fill nail holes, prime lags, and bond flashing to roofing materials.
Composition Shingle
The flashings we currently use for this type of roof is made by IronRidge called the FlashFoot2. This flashing has a unique water seal design with an elevated and encapsulated area for the lag penetration. Not only is this the best water shedding product for this roof style but the concentric loading design where the lag and rail align results in the strongest attachment and highest uplift capacity. It is important when installing these flashings that the installer line the flashing up to where it layers underneath the two courses of composition shingle.
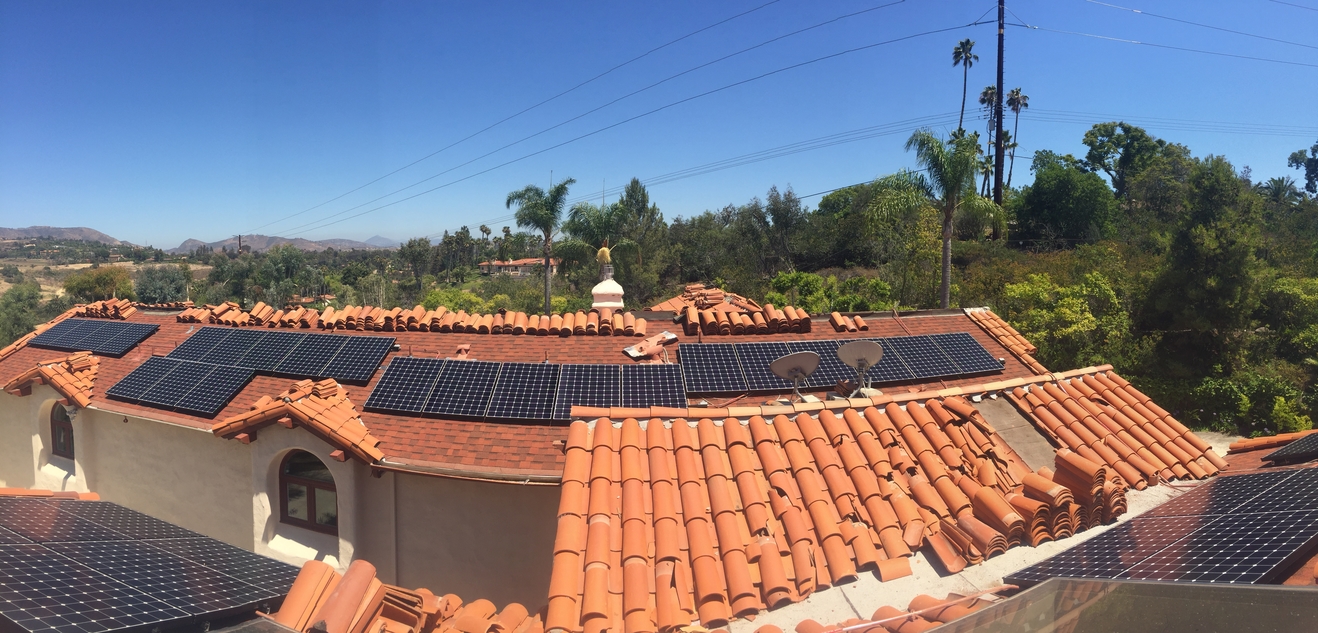
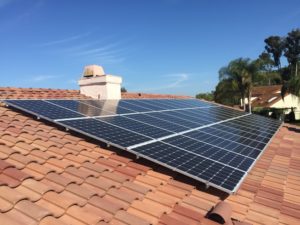
Tile
The most troublesome of the roof surfaces for many contractors. Broken tile, missed nail holes, and improper flashing techniques leave these roofs open to problems. We prefer to use a relatively new product from QuickMount called the Tile Replacement flashing. As the name indicated the installer takes the tile out completely and replaces it with a flashing in the shape of a tile. After pulling 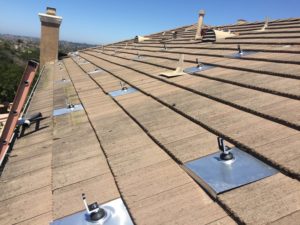 the tile its important to fill the nail hole with M-1 sealant to prevent leaks. After the rafter is found, this product comes with a sliding base plate that requires two lags providing for extra structural integrity. This base plate can be primarily flashed using two methods. One method requires the installer to create a bib from roofing paper and layer this underneath the above paper. The second method uses a roofing product called mastic, a tar like substance that doesn’t set for several weeks, to cover around the sliding base creating a bib. The tile replacement is then inserted to create a double flashed system.
Metal
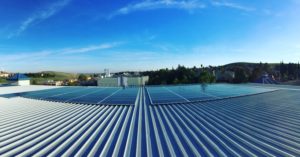 Standing seem and steel sheeting that looks like tile are the most common. For standing seem its very easy, we use a clamp from S-5! allowing us to attach to the roof without penetrating the roof. The steel sheeting however is a completely different operation. We essentially have to install from the inside out. Since we can’t use a hammer to identify the rafters we have to get in the attic space and drill up through
the roof. The sheeting structure to the roof doesn’t allow for a traditional flashing. We use whats called a hanger bolt that can lag directly into the rafters and attach the mounting materials directly to it.
Flat
These roofs are typically a rolled composition heated with a torch to adhere to the structure or a newer method called Thermoplastic Polyolefin (TPO). Both types are treated the same because they have the same potential for pooling water. These roofs are meant to have no open seems so traditional flashing methods cannot be used. We used the ChemCurb Penetration Seal System from the same manufacturer that makes our sealant ChemLink. The location of the lag is surrounded by a plastic cup, the cup is then filled with a polyester resin, and after about 24 hours the resin is set. The resin creates a rubber puck engulfing the penetration to prevent water from getting in.
At Alltech Solar, we use industry leading methods and technologies to provide the best installation practices possible. Now that you know how we handle the roof, why would you entrust your installation to anyone else?

0 Comments